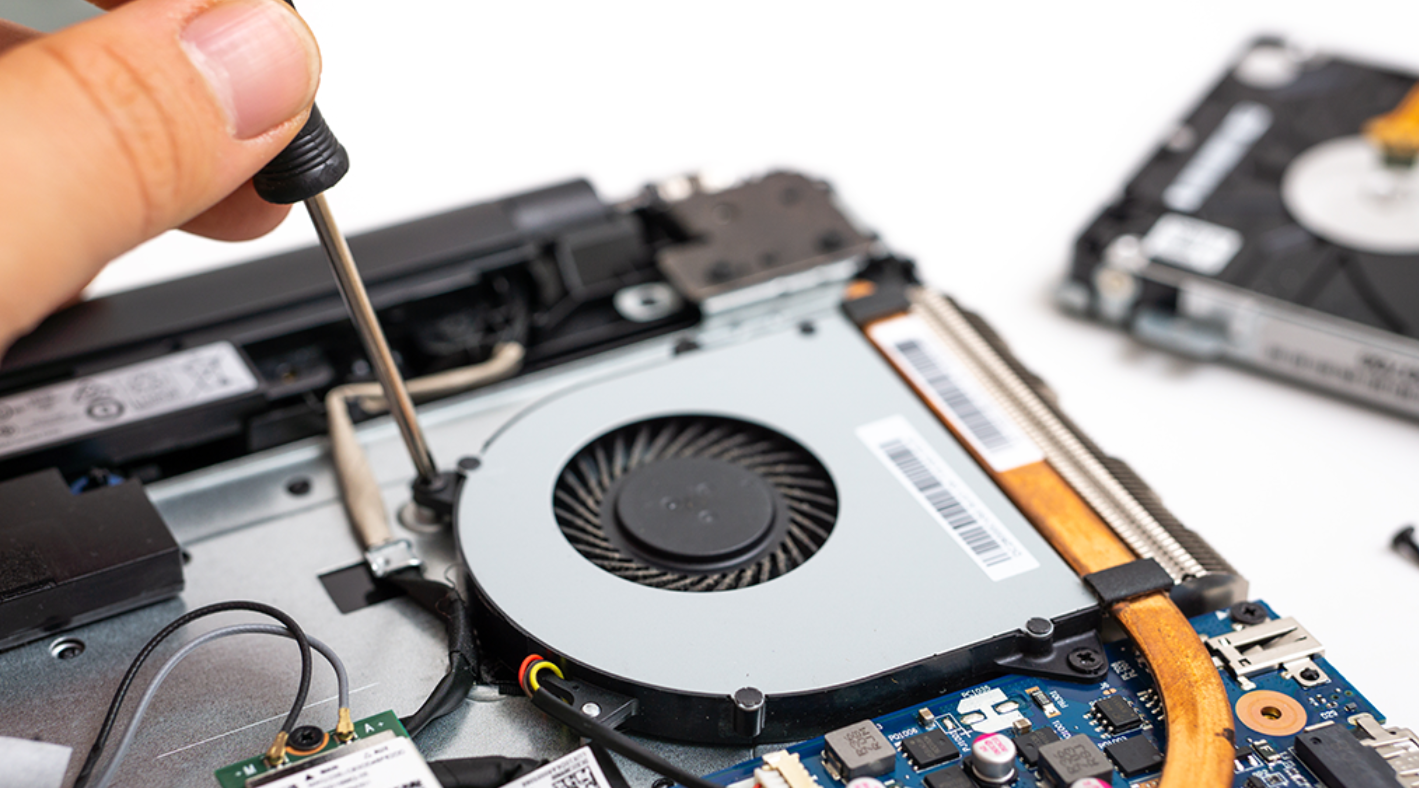
Is your laptop starting to sound like a jet engine preparing for takeoff? Or perhaps the keyboard feels uncomfortably hot under your fingers? These are classic signs that your cooling system is struggling. Over time, dust and lint accumulate inside the chassis, clogging the fans and vents that are essential for airflow. While a deep clean usually involves opening the case, not everyone is comfortable removing screws and navigating delicate internal components.
Fortunately, you can effectively clean your laptop fans without taking the machine apart. This guide outlines a safe, non-intrusive method to restore your computer’s performance and silence that annoying fan noise.
Why You Must Address Dust Buildup
Dust is more than just an aesthetic annoyance. It acts as an insulator. When dust coats the internal components and blocks the exhaust vents, heat gets trapped inside. According to technical support guides from HP, excessive heat is one of the leading causes of system instability and reduced hardware lifespan.
When a laptop cannot cool itself efficiently, it triggers a process called “thermal throttling.” The processor intentionally slows down to generate less heat, resulting in sluggish performance, frame rate drops in games, and system crashes. Regular cleaning is a critical part of laptop maintenance that ensures your device runs at its intended speed.
Essential Tools for the Job
Before you begin, gather the necessary supplies. You do not need expensive equipment, but using the right tools is vital to avoid damaging your electronics.
-
Compressed Air Can (Air Duster): This is the most critical tool. Do not use an air compressor, as the pressure is often too high and can contain moisture.
-
Microfiber Cloth: For wiping down exterior vents and surfaces.
-
Cotton Swabs: Useful for cleaning the grilles of the vents.
-
Flashlight: To inspect the vents before and after cleaning.
Step-by-Step Guide to Cleaning Your Laptop Fans
Follow these steps carefully to dislodge dust without opening the chassis.
1. Preparation and Safety Measures
First, shut down your laptop completely. Do not just put it into Sleep or Hibernate mode. If your laptop has a removable battery, take it out. Unplug the AC adapter and any USB peripherals. This eliminates the risk of short circuits while you are working.
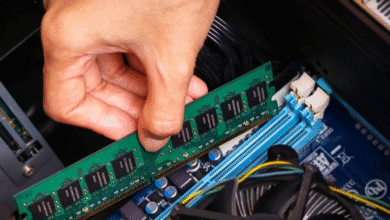
2. Locate the Air Intake and Exhaust Vents
Examine your laptop to find where the air enters and exits. Typically, intake vents are located on the bottom of the device, while exhaust vents are found on the side or near the hinge. Using a flashlight can help you see through the grilles to identify where the dust is most concentrated.
3. The Compressed Air Technique
This is the most delicate part of the process. According to PCMag, it is crucial to hold the compressed air can upright to prevent liquid propellant from spraying onto your hardware.
Technique:
-
Point the nozzle at the exhaust vent first.
-
Use short, controlled bursts of air (1-2 seconds).
-
Important: Do not spray continuously. Long sprays can cause condensation and spin the fan blades too fast. Spinning a fan manually at high speeds can generate electricity, which might send a harmful voltage back into the motherboard. Short bursts prevent the fan from spinning too aggressively.
Repeat this process for the intake vents on the bottom. The goal is to loosen the dust clumps so they can be blown out of the system.
4. Clean the Exterior Vents
Once you have blown out the internal dust, you will likely see debris caught in the external plastic grilles. Use a cotton swab lightly dampened with water (not dripping) or a dry toothbrush to sweep away this surface dust. Finish by wiping the entire area with a microfiber cloth.
Comparison of Cleaning Methods
Understanding the pros and cons of different cleaning approaches can help you decide which is best for your situation.
| Method | Effectiveness | Risk Level | Difficulty |
| Compressed Air (External) | Moderate | Low | Easy |
| Disassembly & Deep Clean | High | High (Void warranty) | Hard |
| Vacuum Cleaner | Low to Moderate | High (Static discharge) | Easy |
A Warning About Vacuum Cleaners
You might be tempted to use a household vacuum cleaner to suck the dust out. Most tech experts advise against this. Standard vacuums generate significant static electricity (ESD), which can fry sensitive electronic components on your motherboard. According to reports by Tom’s Hardware, unless you have a specialized anti-static vacuum designed for electronics, it is safer to stick with compressed air.
Frequently Asked Questions (FAQ)
Q: Can I use a hair dryer to clean my laptop fans?
A: No. A hair dryer, even on a cool setting, does not provide the focused pressure needed to dislodge stuck dust. On a hot setting, it can melt delicate plastic components or damage internal solder points.
Q: How often should I clean my laptop vents?
A: For general use, cleaning every 3 to 6 months is recommended. If you have pets or live in a dusty environment, you might need to do it more frequently.
Q: What if the fan is still loud after cleaning?
A: If the noise persists, the fan bearing might be worn out, or the thermal paste on the CPU might need replacing. In this case, disassembling the device or seeking professional repair is the next logical step.
Conclusion
Keeping your laptop cool does not always require a screwdriver and a warranty-voiding procedure. By learning how to clean laptop fans without disassembling the device, you can extend the life of your computer and maintain peak performance. Make this simple maintenance task a regular habit, and your laptop will thank you with quiet operation and faster processing speeds.
-
-
-
-
-

-

-