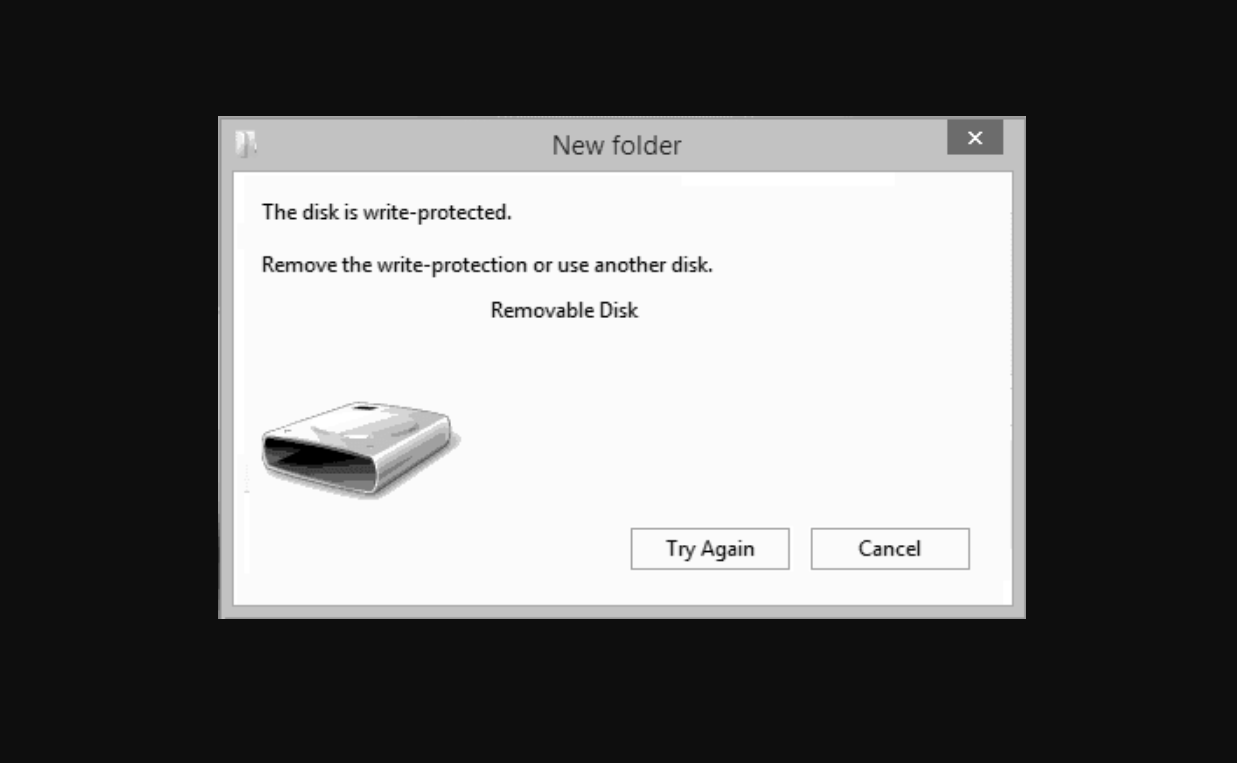
There are few things more frustrating than trying to save an important document or copy a file to your external drive, only to be greeted by the dreaded message: “The disk is write protected.” Suddenly, your powerful Solid State Drive (SSD) has turned into a read-only vault. You can look at your files, but you cannot touch, edit, or delete them.
If you are currently facing this issue, don’t panic. This is a common safety mechanism in Windows 11 intended to prevent accidental data loss, but it often triggers due to software glitches, corruption, or settings errors. In this guide, we will walk you through proven methods to unlock your drive and get back to work.
1. Check for Physical Switches and Connections
Before we dive into command lines and registry edits, we need to rule out the simplest explanation. Some external SSD enclosures and USB-to-SATA adapters come equipped with a physical Lock/Unlock switch.
-
Inspect the device: Look for a small slider on the side of your SSD enclosure.
-
Check the position: If it is toggled to the “Lock” icon, simply slide it back to the open position.
-
Reconnect cables: Sometimes, a loose USB-C connection can cause the drive to mount improperly. Unplug the drive, wait ten seconds, and plug it back into a different USB port.
2. Remove Write Protection Using Diskpart (CMD)
If there are no physical switches, the issue is likely logical. The most effective way to fix SSD write protected error on Windows 11 is using the built-in Diskpart tool. This tool forces the operating system to clear the “Read-only” attribute flag on the drive.
Follow these steps carefully:
-
Press the Windows Key and type cmd.
-
Right-click on Command Prompt and select Run as administrator.
-
In the black window, type
diskpartand press Enter. -
Type
list diskand press Enter. You will see a list of all storage devices connected to your PC. -
Crucial Step: Identify your SSD based on the size (e.g., Disk 1). Type
select disk X(replace X with your drive number) and hit Enter. - Once the disk is selected, type the following command:
attributes disk clear readonly
-
Wait for the message “Disk attributes cleared successfully.”
Once done, type exit to close the window and try copying a file to your SSD again.
3. Modify the Registry (Regedit)
If Diskpart didn’t solve the problem, the restriction might be enforced by the Windows Registry. This often happens after a system update or if a third-party software changed your storage policies.
Note: According to technical experts at Tom’s Hardware, editing the registry carries minor risks, so it is always wise to back up your registry or create a System Restore point before proceeding.
Steps to fix via Registry Editor:
-
Press Win + R, type
regedit, and hit Enter. - Navigate through the folders path:
Computer\HKEY_LOCAL_MACHINE\SYSTEM\CurrentControlSet\Control\StorageDevicePolicies
-
If you don’t see the “StorageDevicePolicies” folder: Right-click on the “Control” folder, select New > Key, and name it
StorageDevicePolicies. -
Inside this key, look for an entry named
WriteProtect. If it doesn’t exist, right-click the white space, select New > DWORD (32-bit) Value, and name itWriteProtect. -
Double-click
WriteProtectand change the Value data from 1 to 0. -
Click OK and restart your computer.
4. check BitLocker Encryption Settings
Windows 11 Pro and Enterprise users often have BitLocker enabled by default. If BitLocker detects a security anomaly, it may lock the drive to “Read-Only” to protect the data.
According to Microsoft Support documentation, disabling BitLocker and then re-enabling it can often reset the drive’s write permissions.
-
Go to Control Panel > System and Security > BitLocker Drive Encryption.
-
Locate your SSD. If it says “On,” click Turn off BitLocker.
-
Wait for the decryption process to finish, then check if the write error persists.
Quick Comparison of Solutions
Not sure which method to try first? Use this table as a quick reference guide.
| Method | Difficulty Level | Success Rate | Best Used For |
| Physical Switch | Very Low | Low | External enclosures/Adapters |
| Diskpart (CMD) | Medium | High | “Read-only” attribute errors |
| Regedit | High | Medium | System-wide policy errors |
| Format Drive | Low | High (Data Loss) | Corrupt file systems |
5. The Last Resort: Formatting the Drive
If the methods above fail, your SSD file system (NTFS or exFAT) might be corrupted. Formatting gives the drive a fresh start, but warning: this will erase all data.
-
Open File Explorer and right-click your SSD.
-
Select Format.
-
Choose NTFS as the file system.
-
Click Start.
If Windows fails to format the drive, the issue might be hardware-related. As reported by PCWorld, when SSDs reach the end of their lifespan, they often enter a permanent “write-protect” mode to allow you to retrieve your data before the drive dies completely.
Frequently Asked Questions (FAQ)
Q: Why did my SSD suddenly become write-protected?
A: This can happen due to a virus infection, improper removal of the drive (pulling it out without ejecting), or file system corruption.
Q: Can I recover data if I cannot fix the write protection?
A: Yes. “Write protected” means you can still copy files from the SSD to your computer. You should back up your data immediately.
Q: Does updating SSD firmware help?
A: Yes. Visit your SSD manufacturer’s website (Samsung, SanDisk, Kingston, etc.) and download their management software to update the firmware.
Conclusion
Encountering a write-protected SSD on Windows 11 is a solvable annoyance in most cases. By toggling the read-only attributes via Diskpart or tweaking the Registry, you can usually regain full control over your storage. However, if these software fixes fail, take it as a warning sign from your hardware to back up your data immediately.
-
-

-
-
-

-
-